
Hello, friends! Welcome to this month’s Around the World on Wednesday Blog Hop! This month’s theme is all about Holiday Vibes with a fun twist—a Color Challenge! Whether you’re still working on your holiday cards or have already finished your stash, this challenge is sure to spark some festive creativity!

Are you making holiday cards? If so, are you Team Coastal or Team Traditional? I know that some of us love those coastal hues for a fresh, beachy holiday vibe, while others go all out with classic reds and greens. No matter which team you’re on, this challenge encourages you to play with your favorite palette!
And if you’ve already wrapped up your holiday cards, now’s the perfect time to try something fresh and fun! Which colors make you feel inspired for those year-round, all-occasion cards? You might just discover a new combo that’s perfect for celebrating all sorts of moments throughout the year!
My Color Choices
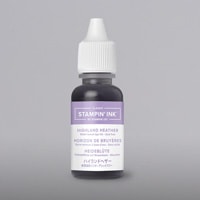
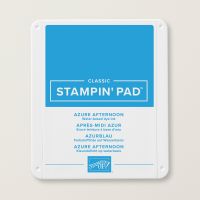
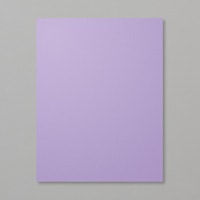
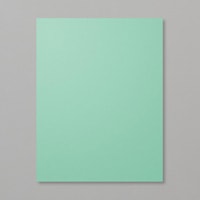
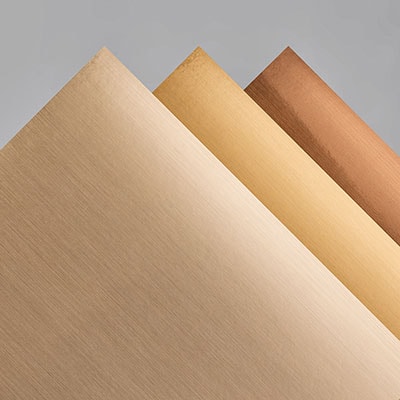
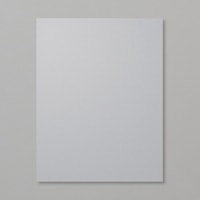
For this challenge, I’ve decided to go with the coastal theme! Here are the colors that I chose:

It’s such a great combination, and not one I would have thought to use for a Christmas card! However, I must say, I love how it brings a fresh twist to my holiday design! I also decided to add a non-traditional embossing folder for my card too….here’s what I came up with:

I incorporated a variety of elements and techniques into this card, and it was so much fun to create! Here are the details of how this card came together:
Watercoloring with Ink Refills
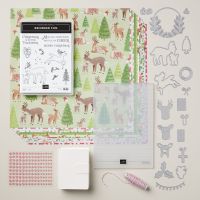
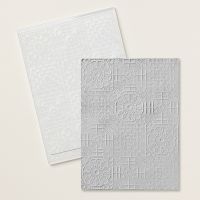
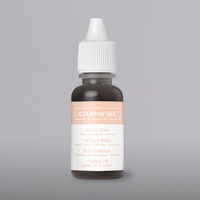
I started by cutting a piece of Basic White cardstock to 4″ x 5 1/4″ and applied a light wash of water with a flat, wide paintbrush. (I would have used watercolor paper, but unfortunately, I couldn’t find any in my stamp room!) Next, I added a drop of each ink refill—Petal Pink, Coastal Cabana, and Highland Heather—onto a clear block. Using my water brush with a little extra water, I picked up each color and dabbed it onto the paper, letting the colors blend and flow naturally. After that, I dried the paper with my heat tool. Once it was completely dry, I used the circle wreath die from the Reindeer Fun collection to cut out the center. Then, I ran the cardstock through the Cute Crochet embossing folder to add texture before moving on to the next technique!

The Magical Embossing Technique
I’m sure you’ve seen the ‘reverse embossing technique’, which I also like to call ‘the magical embossing technique” – this is a personal favorite that never fails to impress (you can check out some of my videos of this technique here and here). I lightly swiped the top of my embossed paper with the Azure Afternoon ink pad, and wow! I absolutely loved how it turned out using the watercoloring and color combo! I’m already excited to try this coastal look on more cards!

Adding Dimension with Pop-Up Magic
I added a pop-up element to give this card a fun surprise! It’s super easy to do: cut a strip of cardstock (I used 4″ x 1/2″) and score each end at 1/2″, 1″, and 1 1/2″. Fold in a mountain-and-valley pattern, then glue the ends to create the pop-up. Now your image will fold down neatly in the envelope and spring up when it’s opened!

When you open the card, a cheerful reindeer pops up to greet you—how sweet is that? I simply die-cut the deer from the coordinating designer series paper.

I also added some holiday lights made from leftover watercoloring and incorporated a few extra scrap pieces for added charm.


P.S. To create the deer I used Smoky Slate, Basic White and Crumb Cake card stock for the die cut layers. I also couldn’t resist adding some old Crystal Effects that I recently rediscovered for the deer’s eyes and nose, giving them a nice glossy finish. For the cheeks and ears, I added tiny dabs of watered-down Petal Pink ink refill.

Thank you so much for stopping by today! I hope you found some inspiration to get you in the holiday spirit and are excited to try out some fresh color combinations for your own holiday creations. Now, it’s time to continue the hop and see what the rest of the Around the World on Wednesday team has dreamed up! Annette is next and she always shares something fun in our blog hops!
Simply click on the image below or the name in the list below to visit the next blog. Each stop is full of festive ideas and creative inspiration, so be sure to visit them all!
Get Inspired and Have FUN!
- Jan Clothier – NZ
- Leonie Stuart – AU
- Rochelle Laird-Smith – AU
- Danielle Kassing – NL
- Ximena Morales – DE
- Mikaela Titheridge – UK
- Tina Zinck-MacDonald – CA (you are here)
- Annette Ball – CA
- Angie McKenzie – US
- Kelly Taranto – US
- Tricia Butts – US
- Theresa McEntee – US
- Bree Renwick – US
- Lori Willcox – CA
Enjoy the day & HAPPY STAMPING!










Oh. My. Gosh. This card totally rocks my world!! I have Reindeer Days and love it. You took your card to the next level using those wonderful bright colours and decorating up the inside to the nine’s. Way to go Tina! You are my superhero.
Tina, that’s beautiful!! I’m excited to try your Magical Embossing technique! Over the top!
Magical indeed! And on multiple fronts. Your ideas are fabulous. 🙂
So love your videos using this fun embossing technique! Such an adorably fun and festive card, TIna! xx